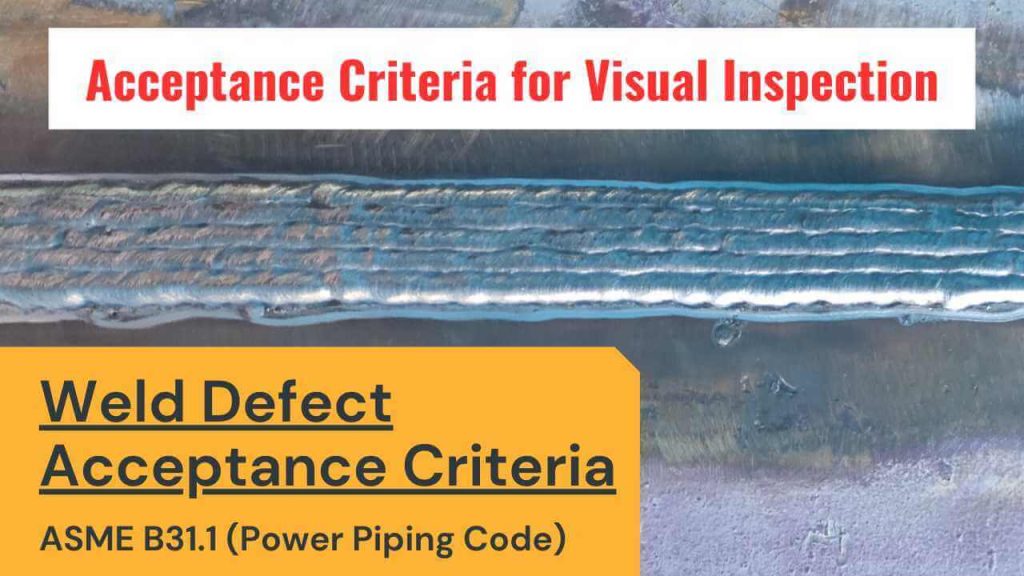
The weld defect acceptance/rejection criteria are given in Chapter VI (Inspection, Examination, and Testing) of the ASME B31.1 – 2022 Power Piping Code.
Chapter VI of ASME B31.1 contains the qualification of NDE Personnel and the acceptance/rejection criteria for the weld defects by the following examination methods;
- Visual Examination (Para 136.4.2)
- Magnetic Particle Examination (Para 136.4.3)
- Liquid Penetrant Examination (Para 136.4.4)
- Radiography (Para 136.4.5)
- Ultrasonic Examination (Para 136.4.6)
- In-Process Examination (Para 136.4.7)
Weld defect acceptance/rejection criteria for visual Inspection :
The following indications are unacceptable as per ASME B31.1;
(1) Cracks — external surface.
(2) Lack of fusion on the surface.
(3) Incomplete penetration (applicable only when the inside surface is accessible).
(4) Weld reinforcement more than specified in the below table.
Reinforcement of Girth and Longitudinal Butt WeldsSummary of Table 127.4.2-1 |
||
| Thickness of Base Metal (T) | Maximum Thickness of Reinforcement for Design Temperature | |
| > 400°C (750°F) | ≤ 400°C (750°F) | |
| T ≤ 3 mm (1/8 in.) | 1.5 mm (1∕16 in.) | 2.5 mm (3∕32 in.) |
| 3 mm < T ≤ 5 mm
(1∕8 in. < T ≤ 3∕16 in.) |
1.5 mm (1∕16 in.) | 3 mm (1∕8 in.) |
| 5 mm < T ≤ 13 mm
(3/16 in. < T ≤ 1/2 in.) |
1.5 mm (1∕16 in.) | 4 mm (5∕32 in.) |
| 13 mm < T ≤ 25 mm
(1/2 in. < T ≤ 1 in.) |
2.5 mm (3∕32 in.) | 5 mm (3∕16 in.) |
| 25 mm < T ≤ 50 mm
(1 in. < T ≤ 2 in.) |
3 mm (1∕8 in.) | 6 mm (1∕4 in.) |
| T > 50 mm (2 in.) | 4 mm (5∕32 in.) | 6 mm (1∕4 in.) or 1/8 X width of weld whichever is greater |
(5) Undercut — Greater than 0.8 mm (1∕32 in.) deep, or if it exceeds the minimum required section thickness.
(6) Undercut on the surface of longitudinal butt welds
(7) Any other linear indications: Greater than 5mm (3∕16 in.) in length
(8) Surface porosity with rounded indications having dimensions greater than 3∕16 in. (5 mm) or four or more rounded indications separated by 1∕16 in. (1.5 mm) or less edge to edge in any direction.
(9) Arc strikes outside of the weld joint.
To know the acceptance criteria as per ASME Section VIII Divison 1, Please click here.

